Product Description
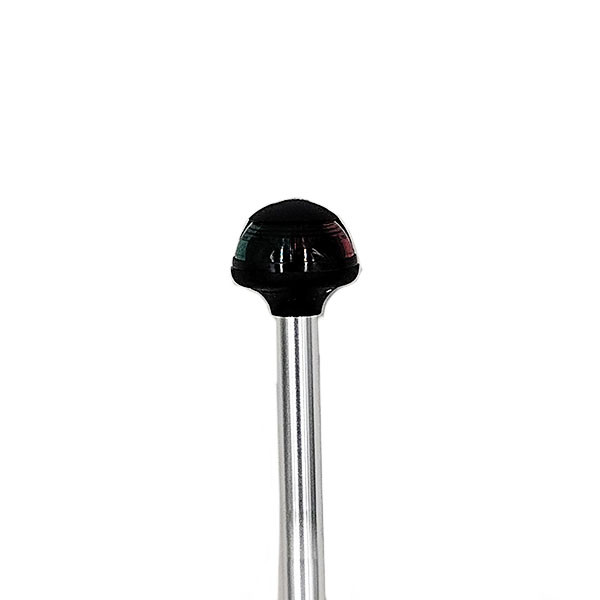
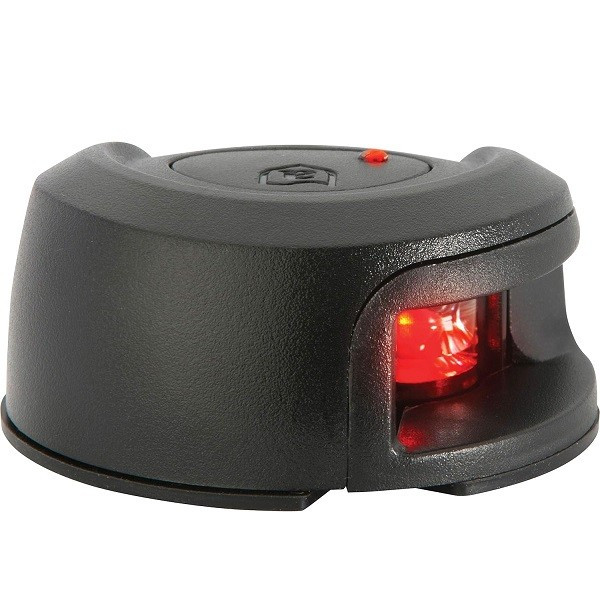
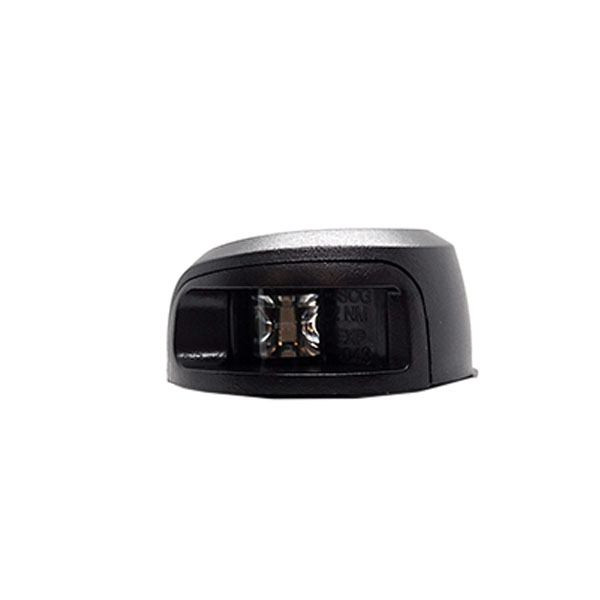
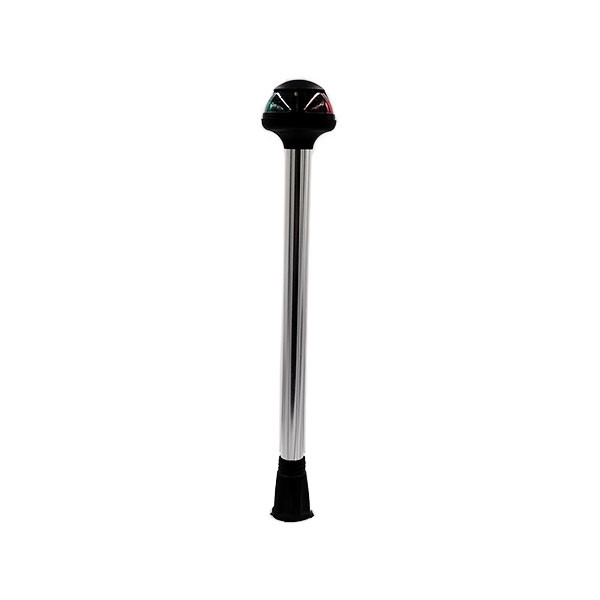
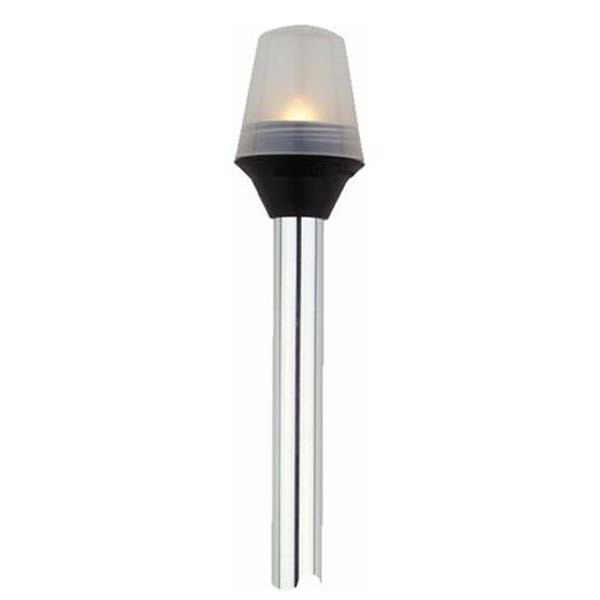
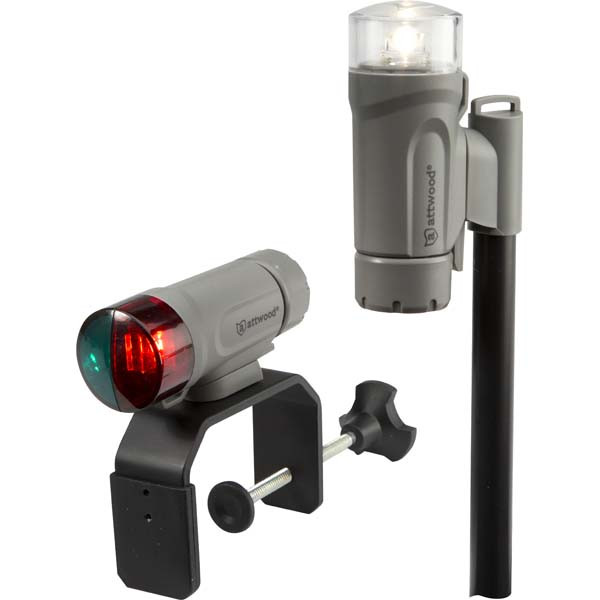
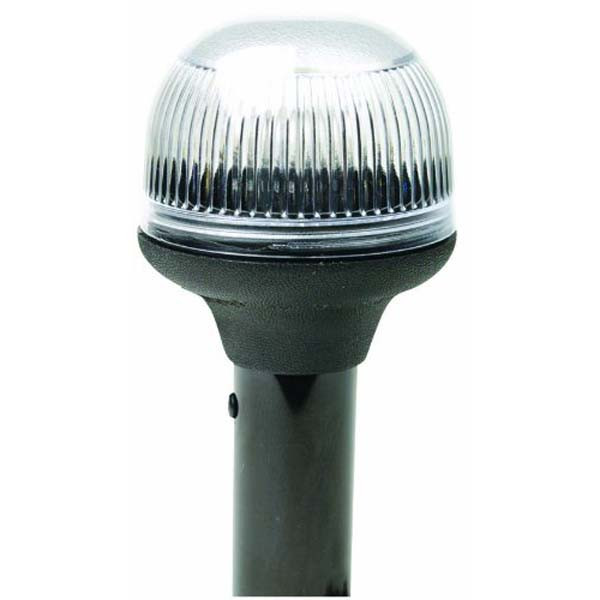
Attwood Folding All-Round Anti-Glare Boat Navigation LightThis Attwood Folding Anti-Glare Boat Navigation Light is built to last in the harsh marine environments with its non-corrosive materials and glass-filled polymer bases. It features a fold-down base that allows the light to swing 180 and can be mounted on both horizontal and vertical mounts. All of the wiring is concealed and protected within the pivoting base. In extreme conditions, if a 12ft./lb. force hits the base, the cam lock releases and allows base to swing down, reducing the chance of breakage to the base or pole. With a two mile, 360 light visibility, this anti-glare boat navigation light is for use on boats up to 39.4 ft.Features: Fold-Down Base That Allows The Light To Swing 180; All Wiring Is Concealed and Protected Within The Pivoting Base; Has Two Mile, 360 Visibility; For Use On Boats Up To 39.4 ft.; Comes With A 12" Black Plastic Pole; Built To Last In Harsh Marine Environments; Can Be Mounted On Both Horizontal and Vertical Mounts; Non-Corrosive Materials; Glass-Filled Polymer Base; Includes a 9-Watt Wedge Base Lamp; Includes Mounts; Specifications: Visibility: Two Mile, 360 Visibility; Installation InstructionsHOW TO INSTALL ATTWOOD FOLDING ALL-ROUND ANTI-GLARE LIGHTInstallation Choose a position near the transom that is accessible to wiring and has clearance below deck.; Place base on the gunwale or deck. At desired location, be sure there I room to rotate the cover. Mark position for the 1-3/8" socket hole.; Remove base and drill the 1-3/8" diameter socket hole, being careful not to crack the gel coat finish around the hole.; Fit base into socket hole so it is parallel to boat centerline. Mark position and drill the three screw holes.; Remove base and connect wires through socket hole. Connect one wire to the battery ground (-). Attach other wire to the 1-amp fused, positive (+) switched wire from the navigation light switch.; Apply sealant between deck and light base. Fasten base with three #10 stainless steel screws. Do not overtighten screws.; Replacing Light Poles without a Locking Collar Align pole screw with slot in the existing base. Insert pole into base.; Press down firmly to engage electrical connectors.; To remove pole, pull straight up.; Replacing Light Poles with Locking Collar Align pole screw with slot in the base. Insert pole into base.; Press down firmly to engage electrical connectors.; Slide locking collar down to base, rotate until you can insert lower ring inside top of base.; Press collar down into base and rotate until it tightens between pole and base.; To remove light, rotate locking collar in opposite direction until it loosens, then pull up on pole.; Removing Locking Collar For bases that do not accept locking collar, remove screw at bottom of pole. Slide locking collar off end of pole.; Replace screw in the upper screw hole.; Replacing Bulb Unscrew frosted globe counter-clockwise and remove.; Pull bulb straight up. Replace with #906 9-Watt Wedge Base Replacement Bulb.; Screw lens clockwise onto pole.; Clean the light with a mild soap and warm water solution. Never use solvents or abrasives that may damage the lens or housing of the light.

Attwood Folding Anti-Glare Boat Navigation Light
$44.49
In Stock
at Wholesale Marine
Price checked 4 days ago
 Amazon
 eBay
eBay
Product Details
Brand
Attwood